A Written Art Lesson Part 7 – The Tree
A Written Art Lesson: Part 7
Today we will paint our tree. You may catch up with past lessons by visiting the Blog page on my website. You will find lessons about paints, supplies, and composition.
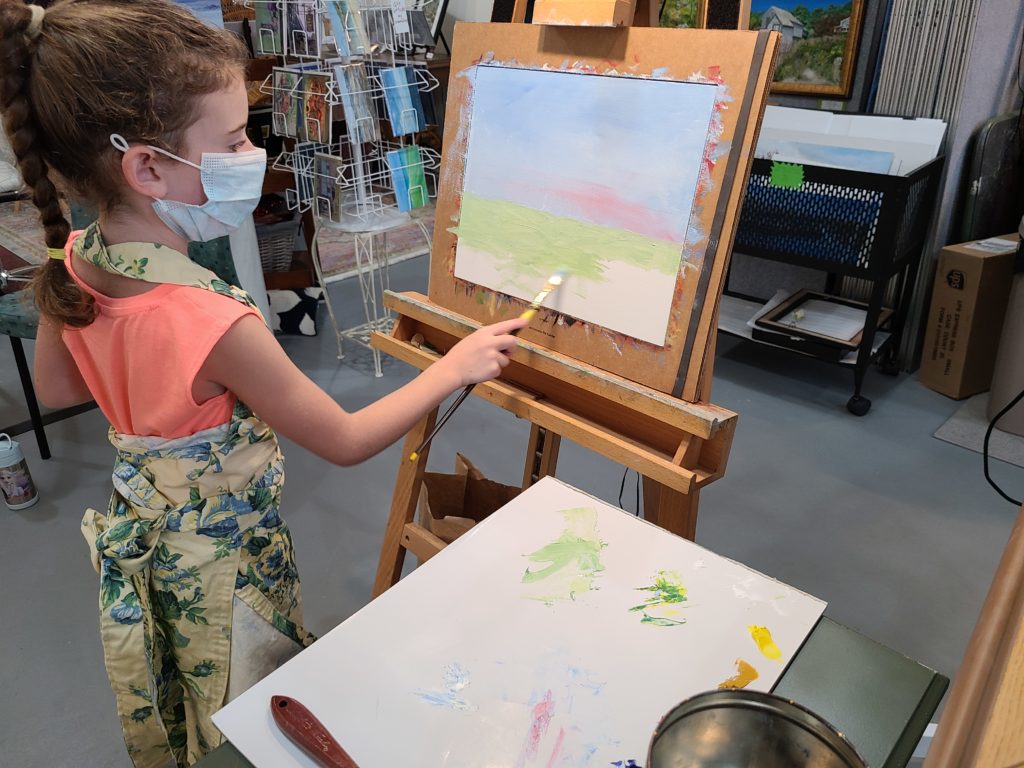
During our last session you were working on a landscape and had created your field. The landscape includes mountains with a tree in a field in the foreground. You now need to paint the foreground tree while the paint is still wet on the field, mountains, and sky.
Remember that our composition requires placing the major elements at the third marks. Therefore, you should begin to “grow” your tree at least as low as the bottom third of your painting and about a third from the right side of your canvas. You will make it taller than the mountains. Try NOT to line your tree up with one of your mountain peaks. It’s good to have vertical elements intersect horizontal lines in your painting. And by making the tree so large compared to the mountains, the tree will appear closer while the mountains appear distant.
I always tell my students to use the right sized brush for the job. Choose a flat brush that will be no more than the width of the widest part of your tree trunk. (How does your #8 flat look?)
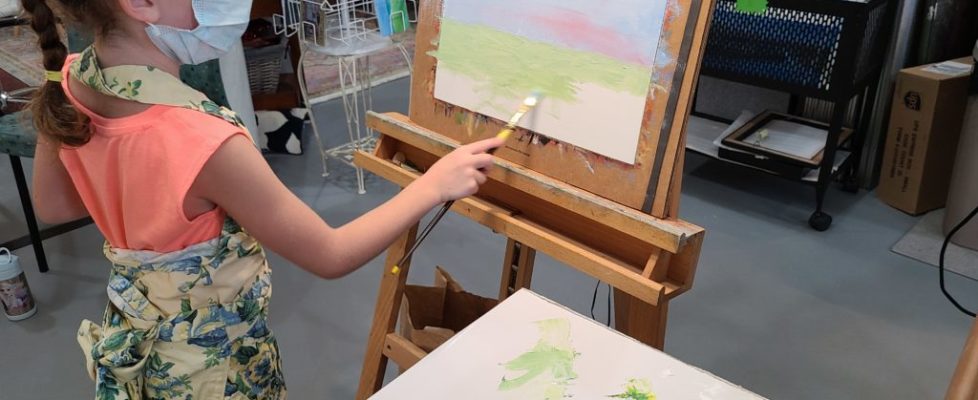
Use the Grab and Go method to get some of your previously mixed “dark” on the tip of your brush. It’s okay to hold the brush like a pencil because you will paint a straight line from the bottom up. Place your brush where the tree begins to grow in the field. Pull the paint up to create the trunk. It’s okay if the line wobbles as it gets higher. It will look more like a real tree. As you get higher, slowly rotate the brush to the thin edge as you continue to paint from the field through the mountains to the sky. Don’t worry if you run out of paint. Because you are painting “wet on wet” your brush will still make a mark as you drag it through the wet paint. You should end in the thinnest, barely visible top to your trunk. This was all ONE stroke. (Breathe!) Make your trunk thicker at the bottom if needed by making more strokes.
Wipe your brush to remove most of the mountain and sky colors from it. Reshape the bristles with your paper towel so that the brush is back to its flat edge. Switch to a smaller flat brush if you like. Let’s paint the branches. Grab a small amount of your dark on the tip of your brush. Don’t bend that brush as you grab the paint! Elbow in the air and a gentle grab. Back to your Statue of Liberty grip please! Start at the trunk and paint branches twisting from the trunk. All the very ends of the branch tips should angle up to the sky. (Trees are always striving upward to the light.) Continue to wipe and reload your brush until you make as many branches as you like.
Some branches will likely be just a hint of a line dragged through the paint. That’s alright. You can always add more color to the wood.
You already know where the sun is coming from since you had to paint light and shadows on your mountains. Do the same with your tree. You will notice that your tree already has a nice blend of colors since you dragged it through the wet field, mountains, and sky. Use yellow ochre to add the look of sunlight where it might be hitting your trunk and branches. Use French Ultramarine Blue to make deeper shadows. Do not strive for perfect smoothness; it’s bark and should look rough.
We’ll continue to add details to your painting during your next “Written Art Lesson”!

