A Written Art Lesson: Part 4

In our last lesson, we discussed the supplies you will need to complete your painting. Before that, we talked about paint colors and basic composition. You can access the previous Lessons on my website Blog if you need to catch up.
Now let’s get some paint on that canvas!
Remember that we were working on a landscape. The sky is the furthest thing away from us. So, let’s paint it. Make sure that your canvas is secured on your easel. And squeeze your paint colors out in the proper order on your palette paper as we discussed in A Written Art Lesson: Part Two.
Use your palette knife to put some Titanium White beneath the pile of Cobalt Blue. After wiping the knife with a paper towel or rag, just barely touch the tip into the Cobalt Blue and gently mix it into the White. Don’t “mix it dead”! Just mix until it looks marbleized. Remember: It’s always easier to add more color than to try to take it out. Add a little more blue paint to the white if you want a deeper colored sky. When you like your sky color, wipe the knife and set it aside.
Next choose your paint brush. I like to use a larger, stiffer brush when covering large areas like a sky. I recommend the #16 Bright we discussed in A Written Art Lesson: Part Three.
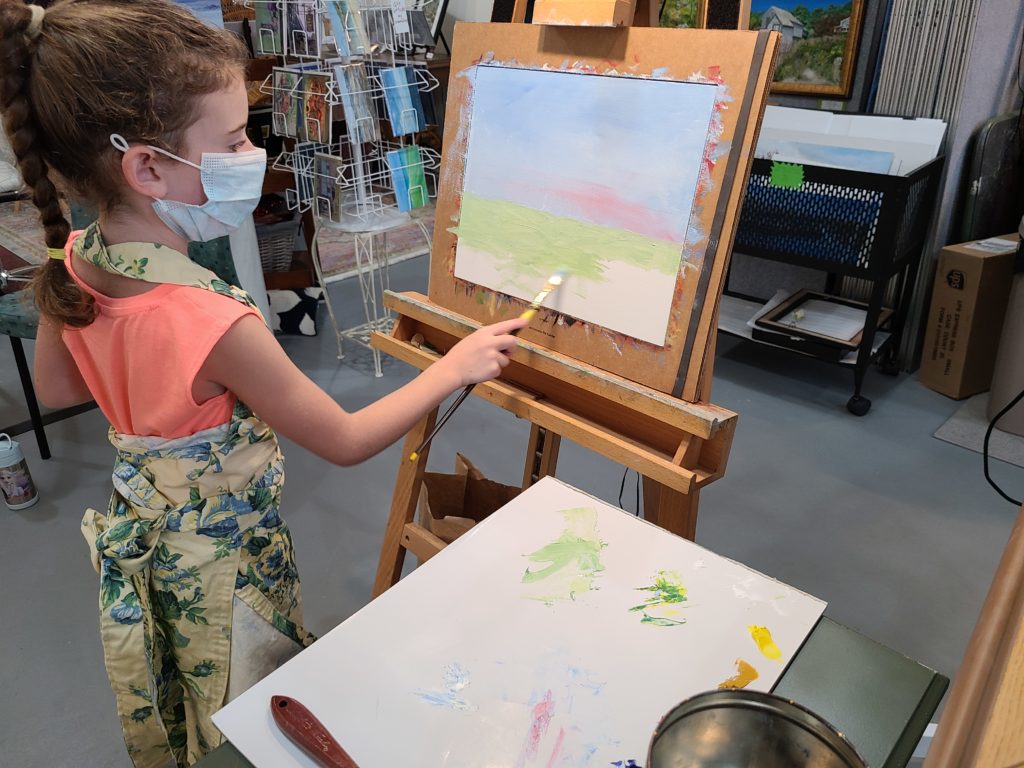
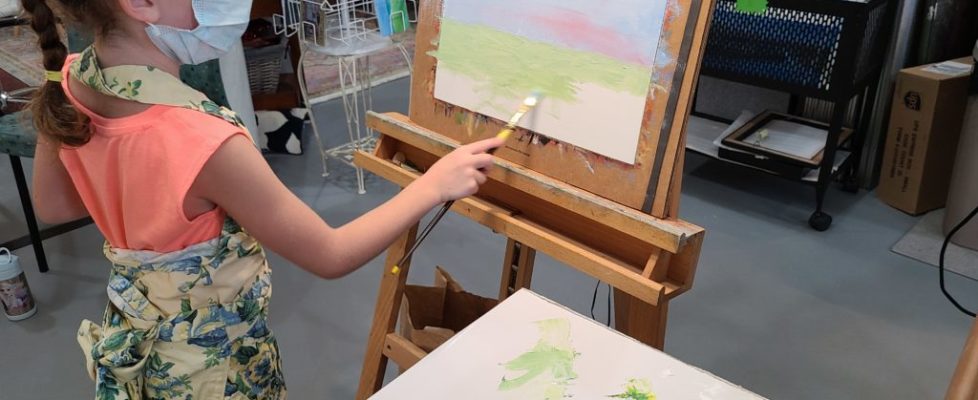
Apply the paint to the upper portion of your canvas using Grab & Go and The X Stroke. Hold the brush in an overhand grip I call The Statue of Liberty grip. Imagine yourself holding the brush overhead like the torch. I recommend using this brush grip instead of a pencil grip. Then put your elbow in the air and grab a blob of paint on the tip of your brush. We paint with the brush tip, not the side. Then apply the paint blob directly to your canvas with a stroke that makes X marks on your canvas. Make a mark first with your thumb facing down; then with your thumb facing up. Move your entire arm like you are conducting an orchestra. Don’t make “smiles”! We chose a bigger brush so that we could use the width to cover the canvas. I want to see nice, fat “X”s. Ava demonstrates these techniques here.
Make sure that you paint down to just below where your landscape will be painted. You will paint the hills and tree on top of the blue paint later.
When you’ve covered the top of the canvas, wipe the excess paint from your brush with a paper towel and place the brush handle-side down in a can or jar.
Next choose a large, soft brush to gently pull the paint across your sky. Start on one edge and pull it all the way across. Then do the next stroke lower starting from the edge where you ended. Don’t start or end your strokes in the middle of your sky. Those flat brush marks will be there forever once the paint dries. Always begin and end at an edge. If you like, you may even make these strokes at a slight diagonal. This will give the sky a sense of movement.
Remember that your brush work is important because the strokes will become a permanent part of your painting.
While the sky paint is still wet, you should paint in your horizon line. We’ll cover that in the next edition of “A Written Art Lesson.”
If you’d like to browse some of the items I’m discussing, visit my Teacher Supply List at Jerry’s Artarama.
Please subscribe to my new Channel on YouTube for short video clip demonstrations that will help you as we progress.


